Secure Raspberry Pi Remote Control: Easy Setup & Access
Is the promise of seamless remote access to your Raspberry Pi a reality, or a technological pipe dream? The ability to control your Raspberry Pi from anywhere, securely and without exposing your network to the world, is now within your grasp.
Navigating the complexities of remote access, especially for "headless" setups without a dedicated monitor or keyboard, can feel like untangling a Gordian knot. The challenges are real: securing your connection, ensuring data privacy, and overcoming the technical hurdles of port forwarding and IP address management. However, a robust solution exists, one that marries ease of use with stringent security protocols, transforming the Raspberry Pi into a truly accessible device from any corner of the globe.
Before diving into the specifics, let's address a common misconception: that achieving secure remote control is an overly complicated endeavor. In reality, the tools and technologies available today streamline the process, making it accessible even to those with limited technical expertise. This article will guide you through the steps, demystifying the process and empowering you to take control of your Raspberry Pi remotely.
Let's consider a hypothetical scenario: imagine you are a software developer, "Alex Chen," working on a remote project that demands 24/7 access to a Raspberry Pi located in your home lab. You require secure access to the command line for debugging, file transfer for code deployment, and the ability to remotely control your project's system processes.
This guide aims to provide you with the knowledge needed to achieve this very level of accessibility, so you can experience a secure and seamless remote Raspberry Pi experience.
| Category | Details |
|---|---|
| Name | Alex Chen |
| Age | 32 |
| Profession | Software Developer, DevOps Specialist |
| Specialization | Embedded Systems, IoT, Remote Access Solutions |
| Education | BSc in Computer Science, MSc in Information Security |
| Relevant Skills | Linux Administration, SSH, Network Security, Cloud Computing |
| Project Focus | Developing a remote home automation system using a Raspberry Pi. |
| Primary Objective | Secure, remote access to command-line and file transfer to the Raspberry Pi, using secure methods. |
| Software/Tools of Choice | Raspberry Pi OS, SSH, remote.it, VS Code (or other IDEs) |
| Relevant Certifications | CompTIA Security+, AWS Certified Solutions Architect Associate (Example) |
| Website Reference | Raspberry Pi Official Website |
The primary method of achieving this remote control involves the Secure Shell (SSH) protocol. SSH is a robust and encrypted protocol designed for securely accessing a remote servers command line. It provides a secure channel for executing commands, transferring files, and managing your Raspberry Pi, allowing you to control it as though you were directly in front of it. SSH is the linchpin of our remote access strategy, providing a secure conduit for all your interactions.
But SSH itself is not a one-size-fits-all solution. While SSH provides the secure connection, ensuring the privacy of the Raspberry Pi on a network, this doesnt eliminate all challenges. Direct SSH connections often require dealing with IP addresses, port forwarding, and potential network security configurations. Here is the exact moment where we will use the tools to make the process even easier.
Consider the traditional hurdles. To access your Raspberry Pi remotely via SSH, you typically need to know its public IP address, which can change. You might also need to configure port forwarding on your router to direct SSH traffic to your Raspberry Pi. Furthermore, you would need to ensure your network's security measures are configured in a manner that allows incoming SSH connections.
These are real and challenging barriers, especially for users who are new to network administration or not familiar with the concepts of IP addresses, routers, and port configurations. This is where solutions like remote.it come into play, providing a streamlined approach to overcoming those challenges.
When you are using solutions like remote.it, youre not sharing your IP address and port information publicly. In fact, your port is "cloaked" on the Raspberry Pi side, making it invisible to external scans and preventing direct exposure of your network. Furthermore, remote.it employs a peer-to-peer (P2P) service, ensuring that your data traffic is not flowing through their servers, thereby maintaining your data's privacy and security.
The remote.it app is specifically designed to simplify the remote access setup. It works by creating a secure tunnel between your computer and your Raspberry Pi. This tunnel encrypts all traffic, protecting your data from eavesdropping. It does not require complex port forwarding or static IP addresses, making remote access easier than ever. Furthermore, remote.it offers a user-friendly interface and supports a wide range of devices and operating systems, ensuring that you can easily connect to your Raspberry Pi from virtually any device.
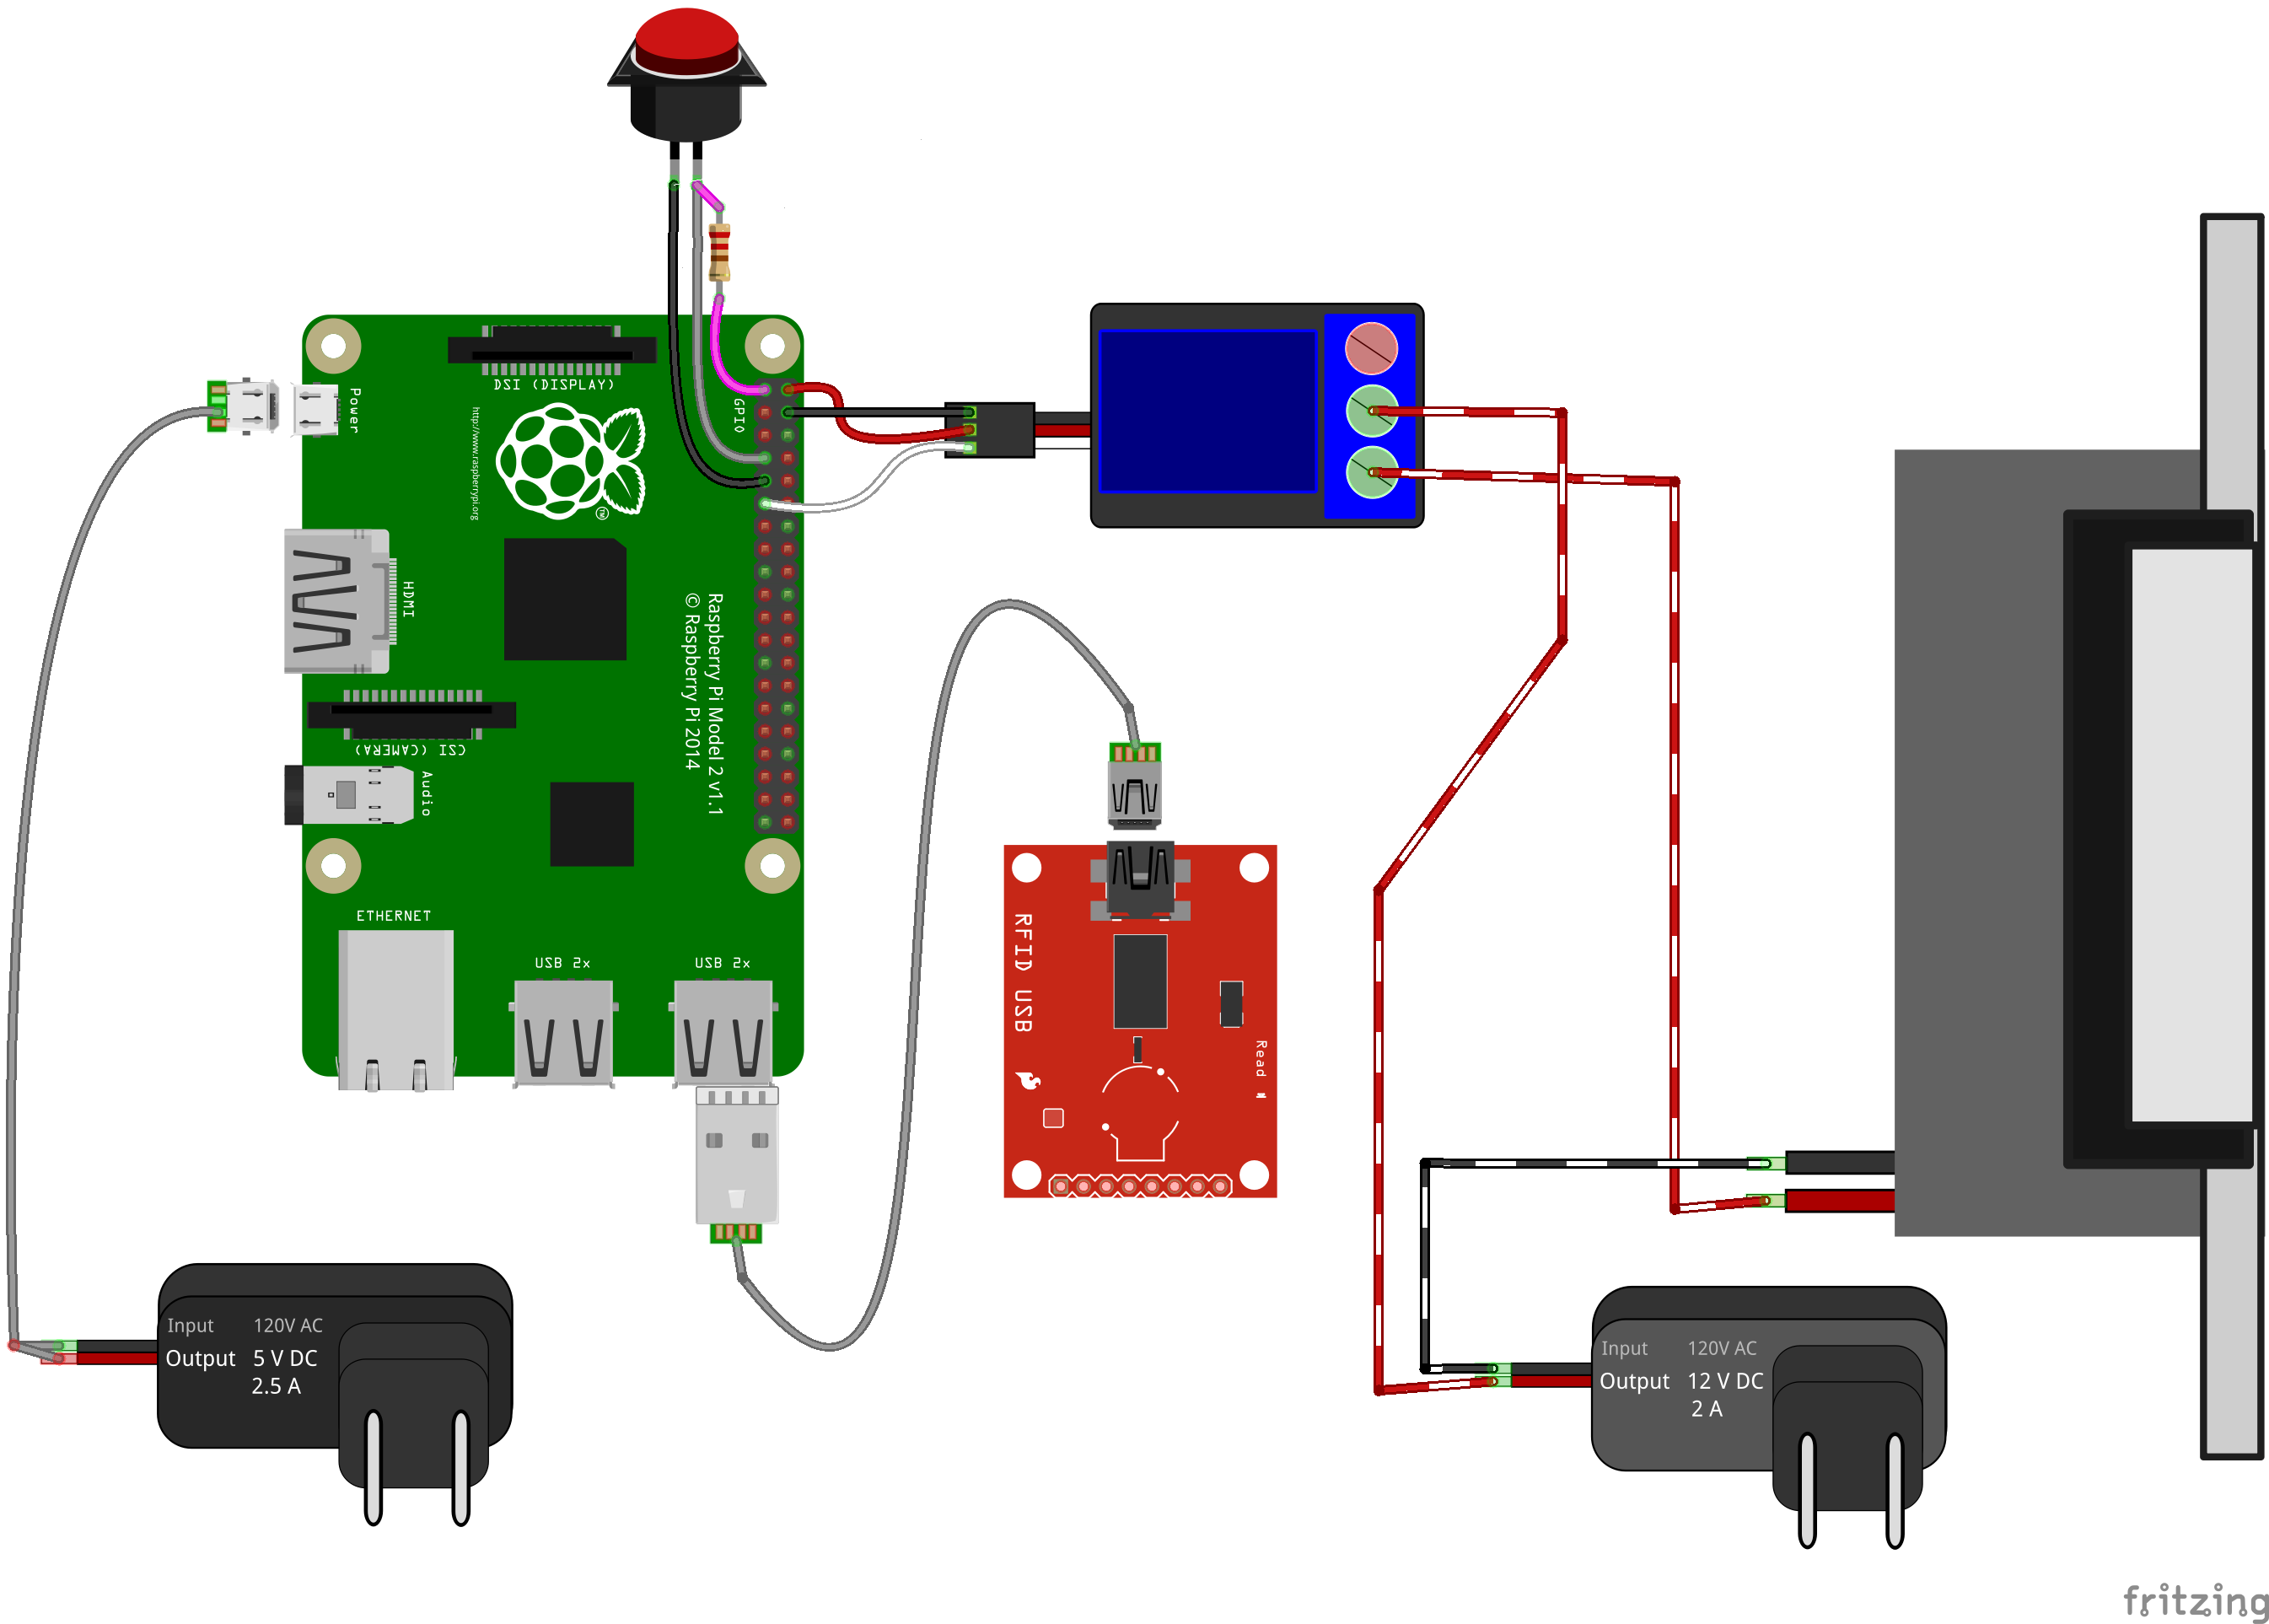
A crucial aspect is setting up the Raspberry Pi. After setting up your Raspberry Pi with your specific operating system, enabling SSH is your next step. Ensure that SSH is enabled in the Raspberry Pi configuration. You may also need to configure a static IP address or use a service like DHCP reservation in your router settings to maintain the Raspberry Pi's IP address.
Once SSH is configured and you have chosen your remote access service, you will want to consider security best practices. Ensure that you are utilizing strong, unique passwords for both your Raspberry Pi user accounts and for any service account you may be using. Consider using public-key authentication instead of password-based login. Public-key authentication is more secure, as it relies on cryptographic keys instead of passwords. Furthermore, regularly update the Raspberry Pis operating system and all installed software. This helps to patch security vulnerabilities that may arise. Consider the implementation of a firewall. A firewall can help to control incoming and outgoing network traffic, providing an additional layer of security.
Let's look at practical application. Imagine you are ready to connect to your Raspberry Pi remotely. Open the remote.it application on your computer and select your Raspberry Pi. After selecting the Raspberry Pi, the remote.it app will establish a secure connection, cloaking your port and securely connecting your device. On the left-hand side of the remote.it app, you will find the 'local site' section, displaying files stored on your computer. With this established connection, and with SSH enabled, you're ready to control your Raspberry Pi remotely.
Now, you can connect to your Raspberry Pi via SSH, access your command line, and begin running commands remotely. You can also transfer files seamlessly between your computer and the Raspberry Pi. You are not sharing your IP and port information publicly, and with the P2P service, your data is not flowing through a third-party service, bolstering your data security.
In summary, the combination of SSH, remote access services, and the steps outlined here, presents a powerful and secure solution for remote Raspberry Pi control. The initial configuration may take some time, but the convenience, security, and control that you gain from remote access are well worth the investment. This approach simplifies remote access, removing the complexities of port forwarding and static IP addresses. It protects your network from external threats, ensuring that your data remains secure and your Raspberry Pi is accessible from anywhere in the world.


